
Podcast: Play in new window | Download
Subscribe: RSS

Oooh That’s Bubbly
Bubble bath, bubble tea, and bubbles in your Champaign may be desirable, but bubbles in your glass fusing project can really bring things to a disappointing end. Champaign may be the perfect analogy here because small Champaign size bubbles in a fusing project is part of the handmade feel of this fired art. It’s the unexpected large and disruptive bubbles that are nowhere in the mind’s eye view of the aspiring glass artist. In today’s episode where going to discuss the cause and effects and give some simple insights that will help tame run-away bubbles and even help you predict exactly where they will occur.
These are the kind of things that we all learn in our beginners’ classes but with the volume of information that you are trying to digest it’s easy for some of these items to get glossed over. It’s like that secret family recipient that you have seen your mom make for years, but when you try there just seems to be something missing.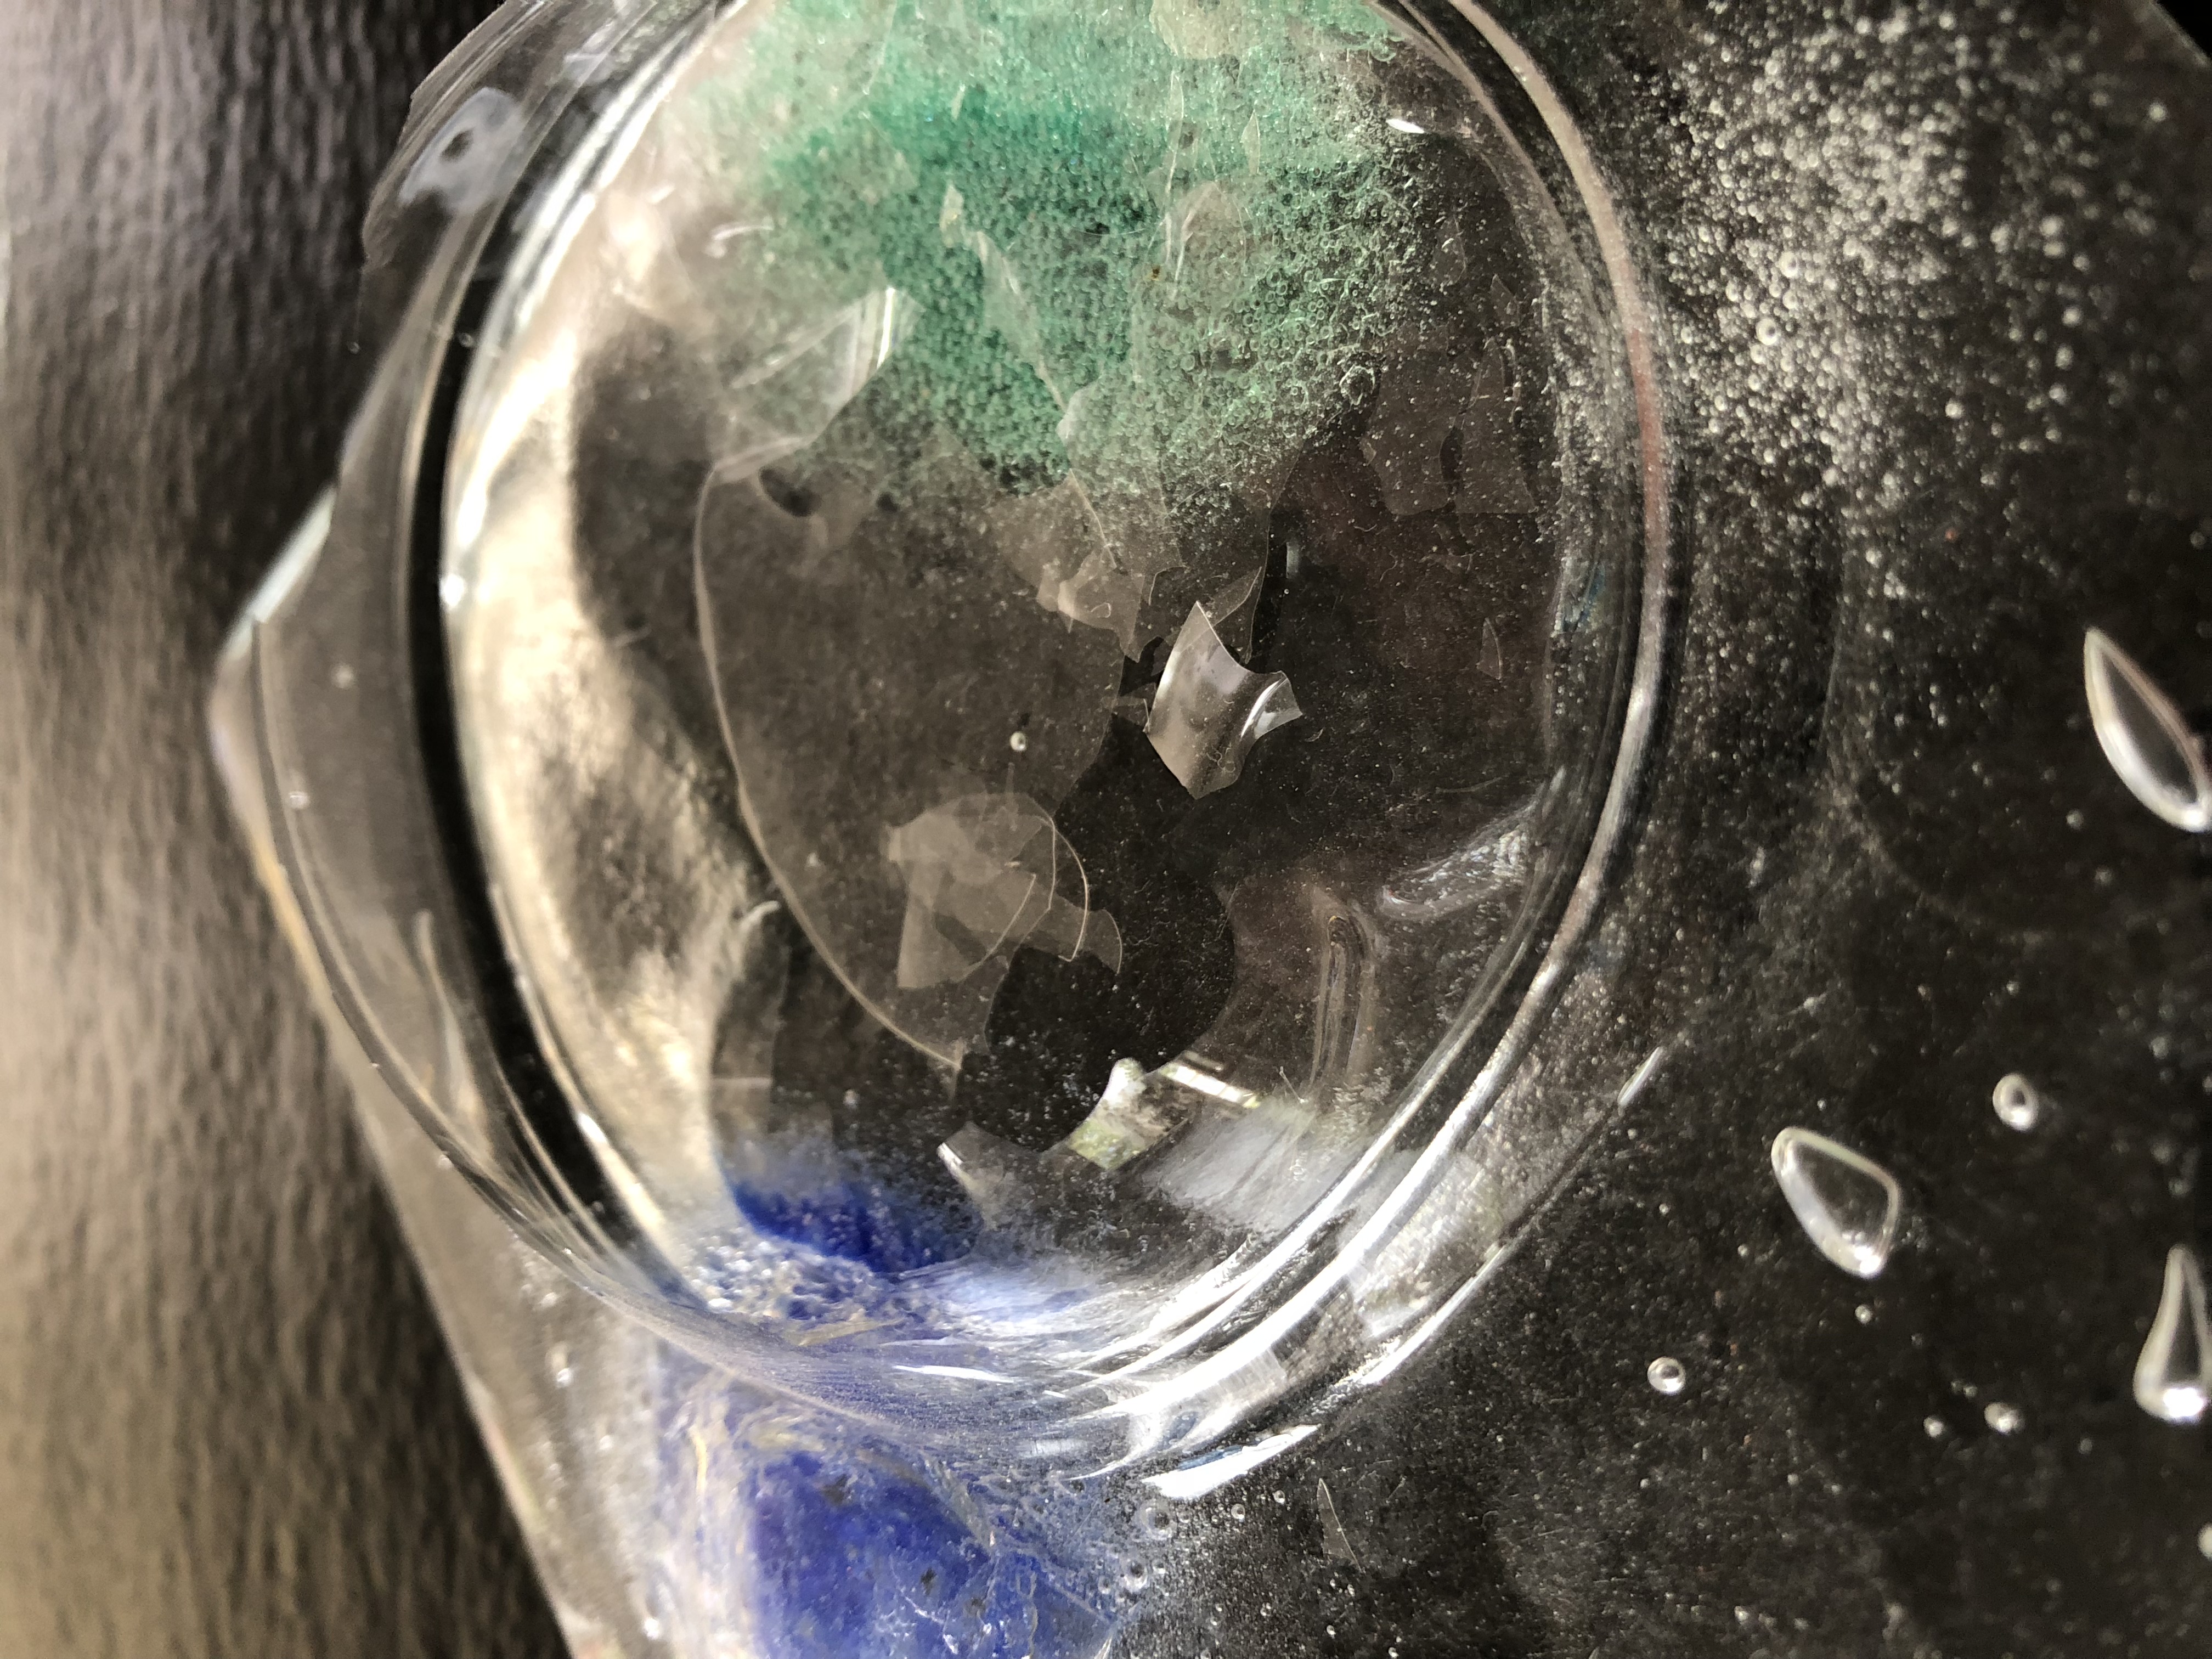
Incomplete Layers
Part of the fun in glass is to let your creativity color outside of the lines, but there are still boundaries. As will all the fired arts we have to bend to the laws of physics. I think bend is the operative word here. With careful consideration and some simple planning, you can bend some laws to reach your creative goals.
So, the easiest way to avoid unwanted bubbles is to create complete layers. This means that your design covers every square inch of your glass workspace. Design up or design down. Design up means that your design elements are on top of a solid piece of clear. Design down means that your design elements are under a solid piece of clear. Both will give you a nice fit and finish but will have some differing results. Design up will have fewer bubbles but may have some distinct line separation between cut elements. Design down can have more bubbles but the top layer of clear will help hold very tight clean lines. Your cutting skills will have an impact here.
No Way Out
Sometimes unavoidable, but if you follow the lines in your design have you allowed a path for air to escape? If the path is limited, you may want to extend your bubble squeeze segment in your firing schedule.
Bubbles Are Beautiful
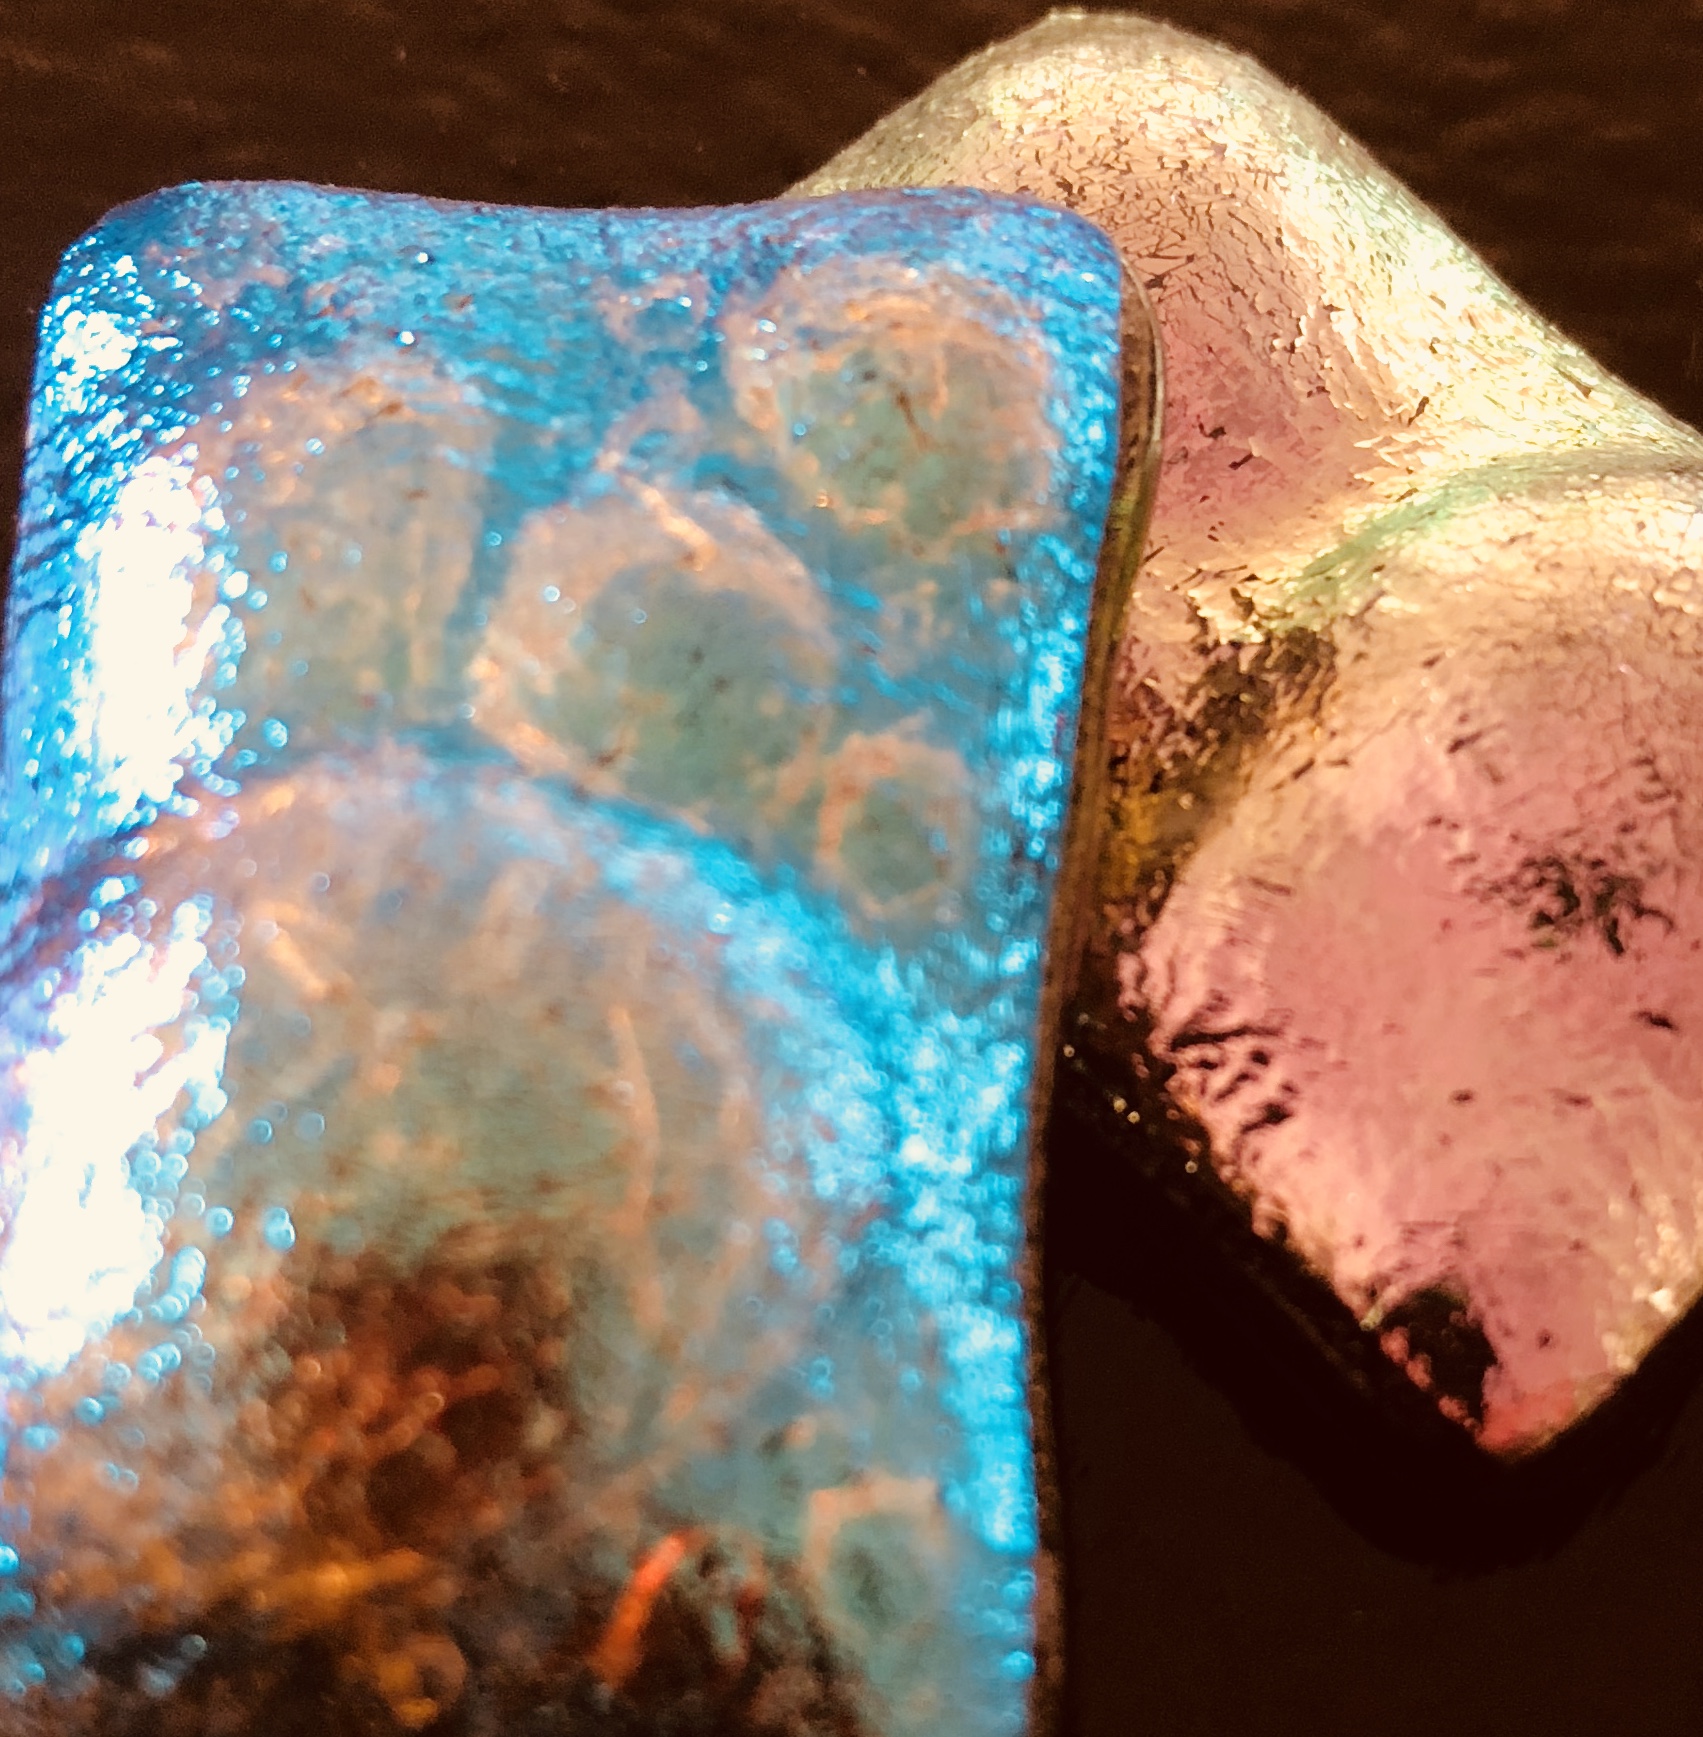 Although bubbles can totally ruin a project, they can also be purposefully added as a visual design element. Bubble powders and frit can be combined to produce bubbles right where you need them. Unique Glass Colors has a bubble powder that can be mixed 1-2 with frits for some really great results. A simple test strip can give you a table of results based on amounts of powder. If you have access to a ring saw its interesting to cut this strip in half to see the thickness of the bubbles.
Firing Schedules & Kilns
The primary segment or zone that fusers contend with bubble is called the bubble squeeze. This happens around 1225f and hold times usually start around the 60-minute mark. The other consideration here is the kiln. Top firing kilns were specifically designed with this issue in mind, but lots of studios and community art centers are using side firing kiln for glass work and having great results. In this scenario firings must be slowed and held for longer durations during a bubble squeeze so that the edges of glass projects don’t seal first and trap air.
What about the shelf
Shelves and other firing surfaces have certainly been to blame for a failed project or two, but it is the anomaly not the norm. Proper use of kiln was, shelf papers and ceramic fibers are the best way to gain confidence that no mater what surface your glass may come in contact with, you will have great success.