Podcast: Play in new window | Download
Subscribe: RSS

Wonders of the Wheel
Teaching Teachers Episode
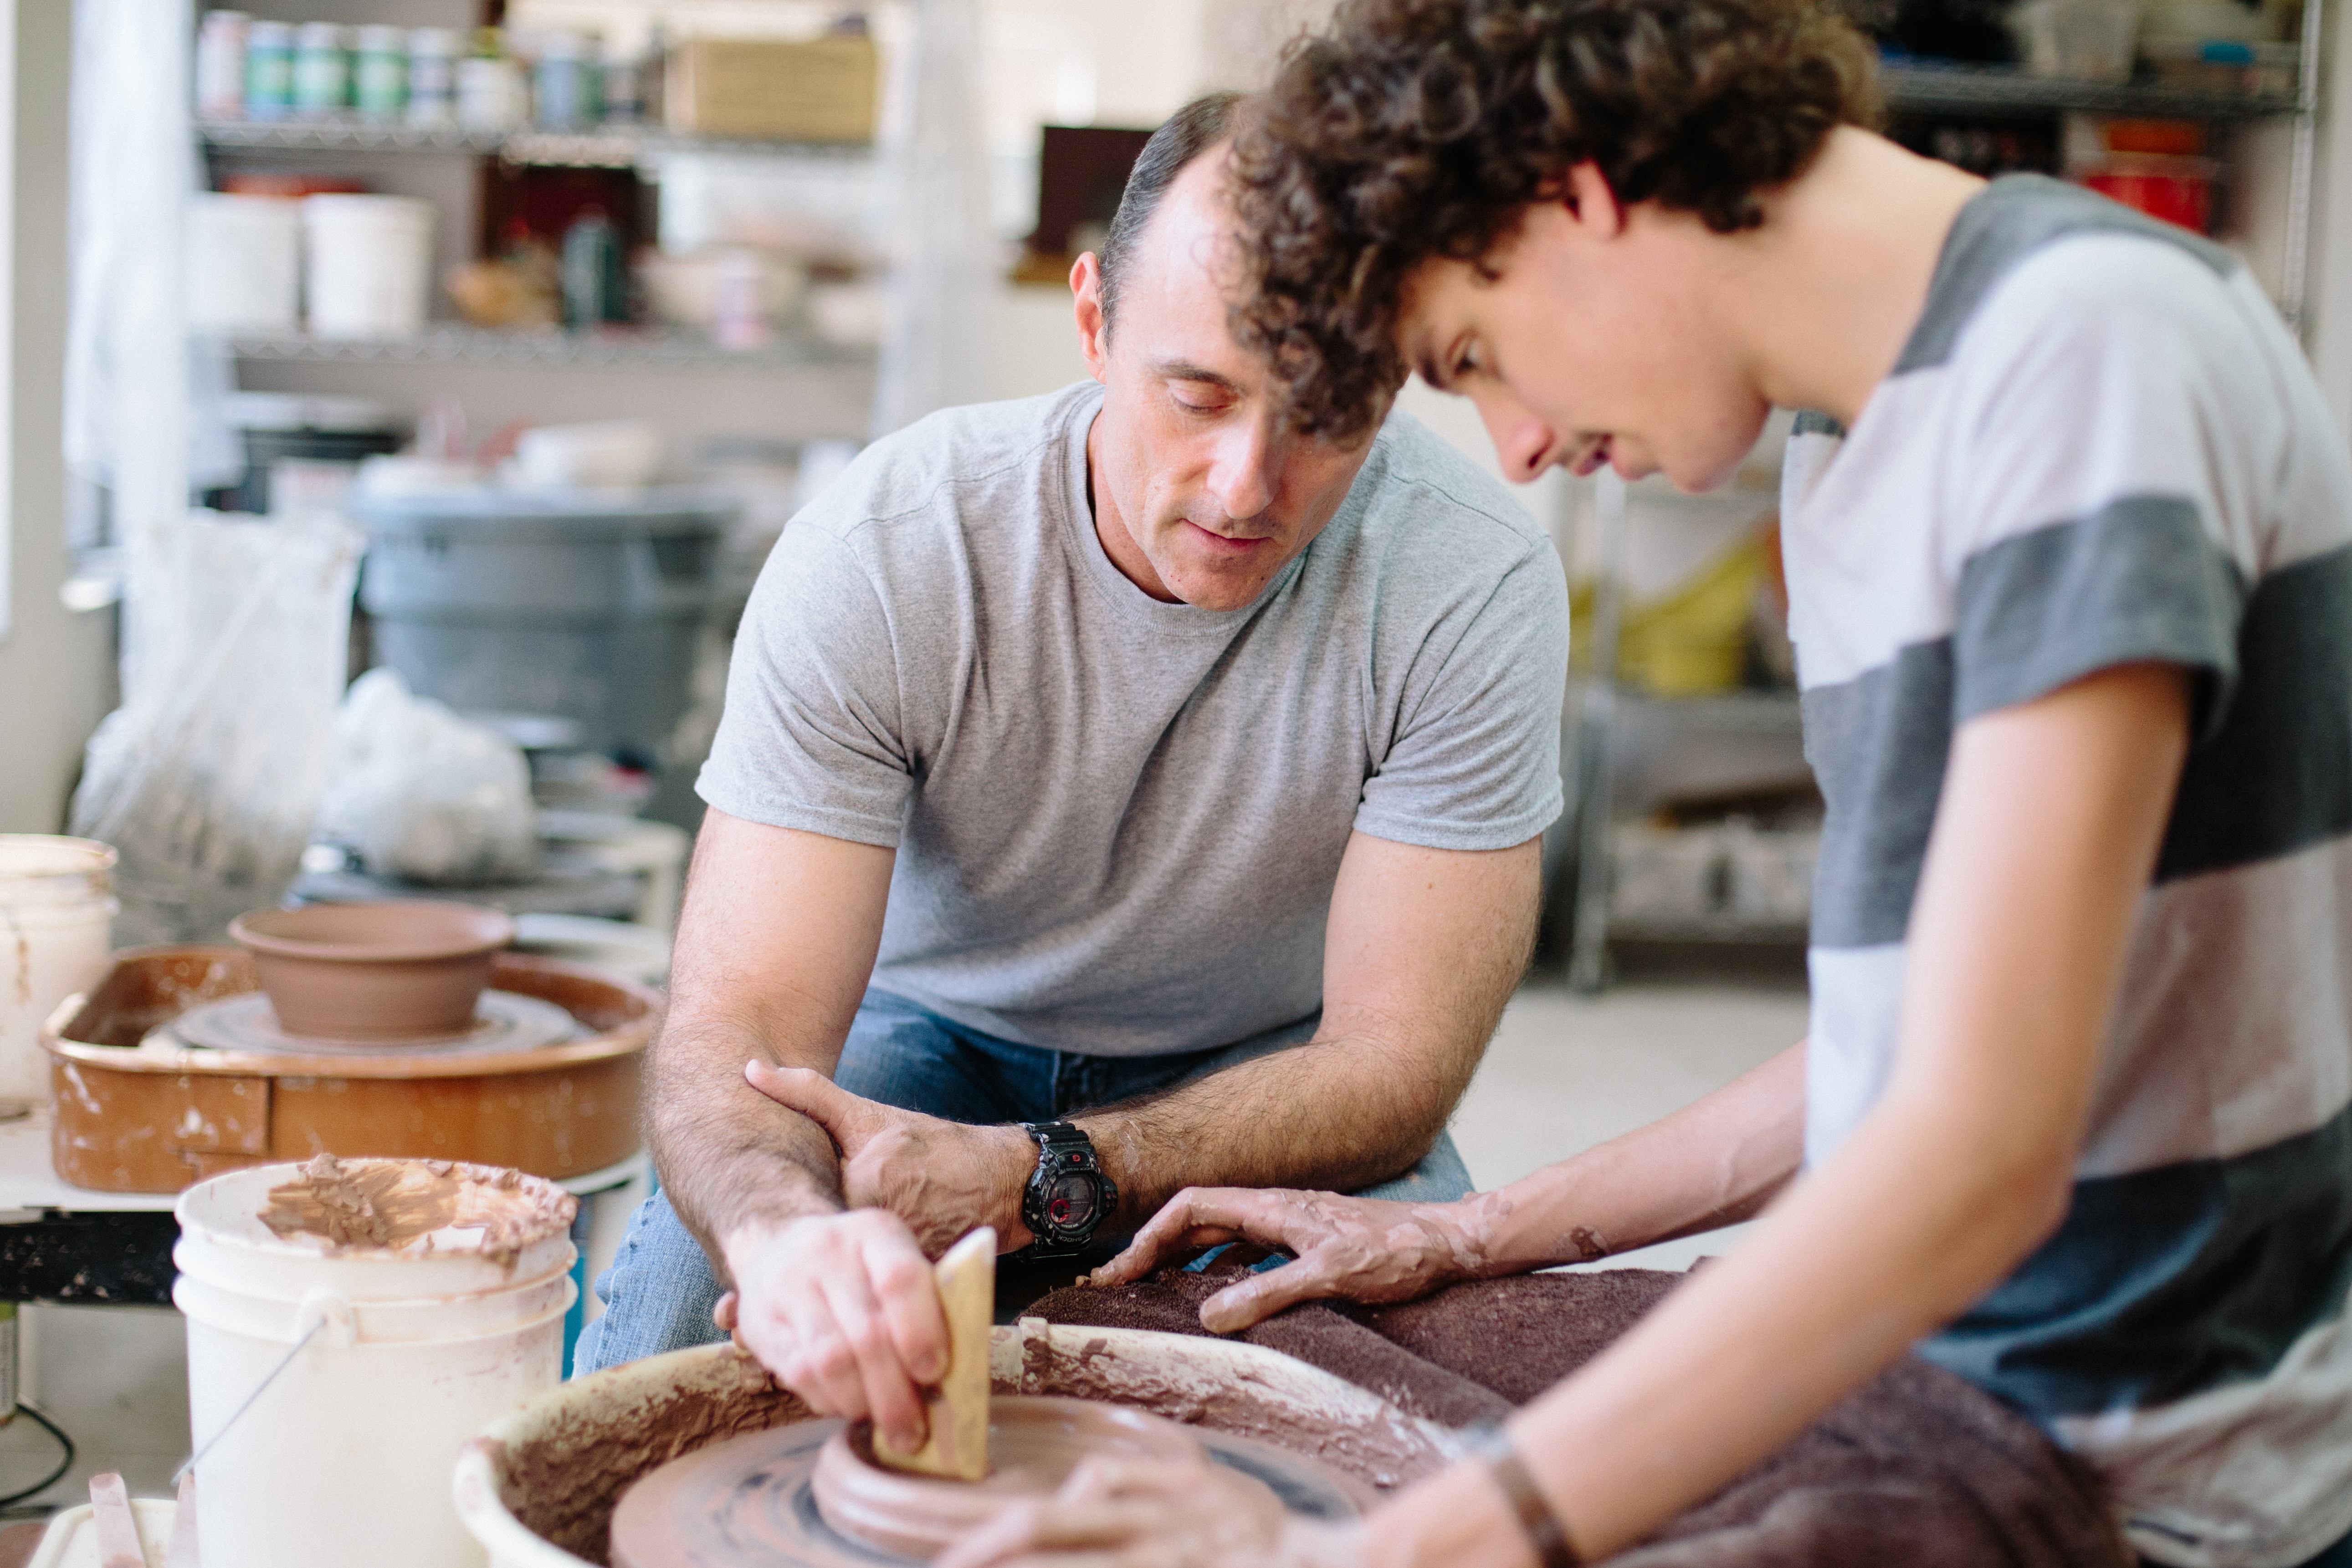
The fascination with the potter’s wheel is universal. Its something about the material, the motion, the rhythm, the trans it puts you under. It’s enchanting. All people are attacked… artistic and non… and yet sometimes the attraction remains as purely bystander status… never taking the leap into classes or hands-on experience.
If you are contemplating this decision, or have had several classes, or in this profession, or maybe even if you are thinking about teaching this fun experience to others, this podcast is for you.
This episode will help those who are thinking about taking a wheel class gain some reasonable expectations, and those who are thinking about teaching, determine how to go about the process.
With any business venture, it’s important to know your breakeven costs… I wont get into this too much but you will have to take into consideration, cost of wheel, cost of kiln, cost of electricity to run both, cost of clay, cost of tools, cost of you per hour, proper insurance incase of any injuries, cost of renting a space, cost of you per hour, (don’t forget to pay yourself) With that being said, know these variables so that you can assess whether or not this is the move for you.
But as we previously talked about, the need is there. People want to learn this skill.
So lets say you have taken this leap… how do you begin?
We are going to give you a loose outline of our syllabus to help you be successful in your endeavor.
We run our wheel class in 5 sessions, one night a week for 2 and ½ hours each session. We find that 2.5 hours is just enough time for the lesion to be taught at the beginning, time to work and time to clean up. Most people get tired after 2 full hours at the wheel.
We also find that 5 week stent is just enough for people to learn the skill and yet not feel like they are over committing. We often have repeat students, but any more then 5 weeks, we feel that people are scared off by the calendar.
Just to give you a gage. Our students pay about 15$ per hour for a class for early registrations, and 18.50$ per hour for regular registration. That is all inclusive, instruction, tools, materials, firings, and glazes. No hidden costs… we aren’t SPIRIT
Ok… so lets get down to the syllabus.
Week one:
Introduce the students to the tools, (wheel, pottery tools), safety issues that might arise, and the material.
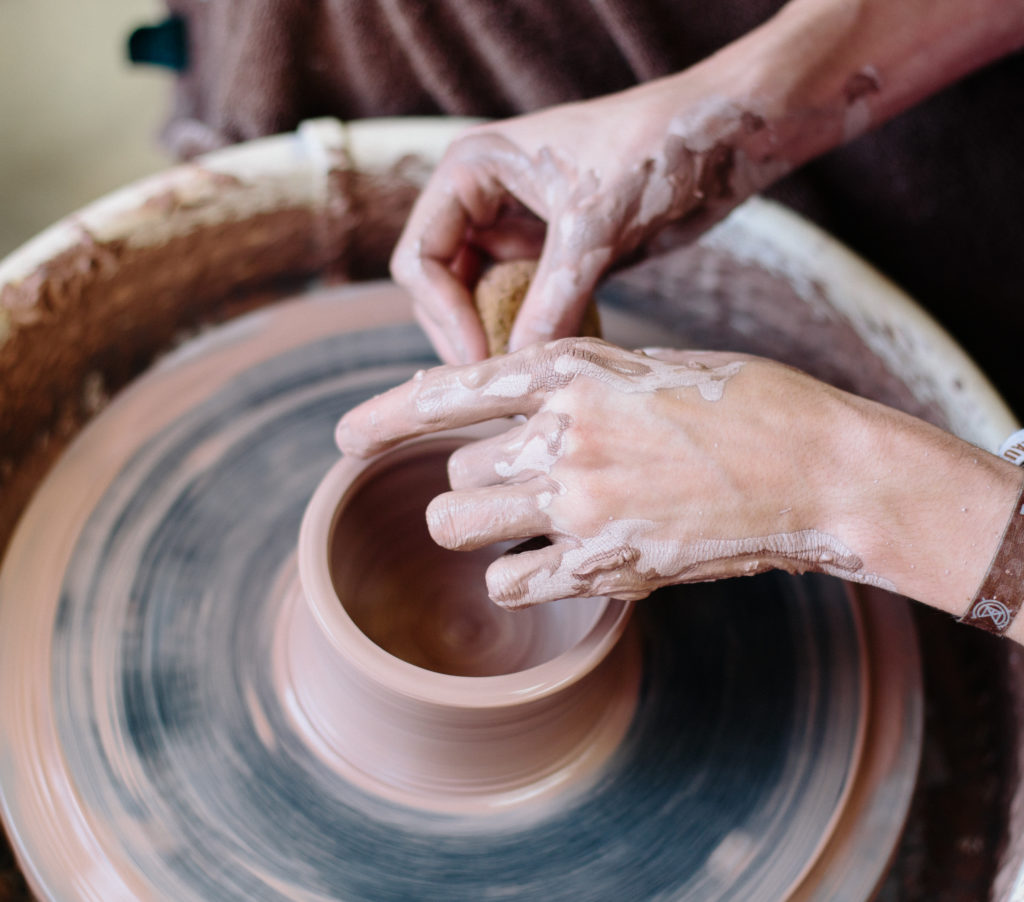
Teach the ways to Center the clay. Push, Pull, or cone
I like to have them focus solely on centering before moving on to the next step. Let them center 3 pieces on bats so they can easily switch from piece to piece.
Once they have learned to center, (each student at least 2 pieces) have them watch you demonstrate opening up the well and pulling the wall. There are simple teaching phrases that I like to reiterative time and time again. Two hands are better then one- means that both hands should be touching and working together. And don’t touch the piece when the wheel is not moving.
Week two:
Trimming
They have to learn how to center the piece to trim it
After demonstrating this you have to give them enough time to trim their piece,
Once that task is complete you will reteach them to center and throw a bowl. Teach a concave and convex bowl. The well should mimic the exterior shape. How the pressure and counter pressure helps shape the cylinder as they form their piece. (address beginner hump by cutting away the clay that attaches it to the base of the bat as you try to pull the clay out into a bowl form. Address the issue with uneven tops. Teach how you trim off the top with the needle tool (see our youtube and facebook lives) This is easily taught by allowing them to experiment on your cylinder. Less precious and more controlled.
Week Three:
Trimming Bowls
Again reiterate the interior and exterior shapes should be the same.
The cross section of a piece should remain even throughout
Teach how to throw a mug shape. Emphasize the importance of lip thickness and functionality of shape
Week Four:
Demonstrate Pulling handles, have them pull 3 handles for every one piece.
While waiting for handles to dry, Trim pieces
Demonstrate attaching handles
If there is time Demonstrate throwing bottles (Something that doesn’t need trimming)
Week Five:
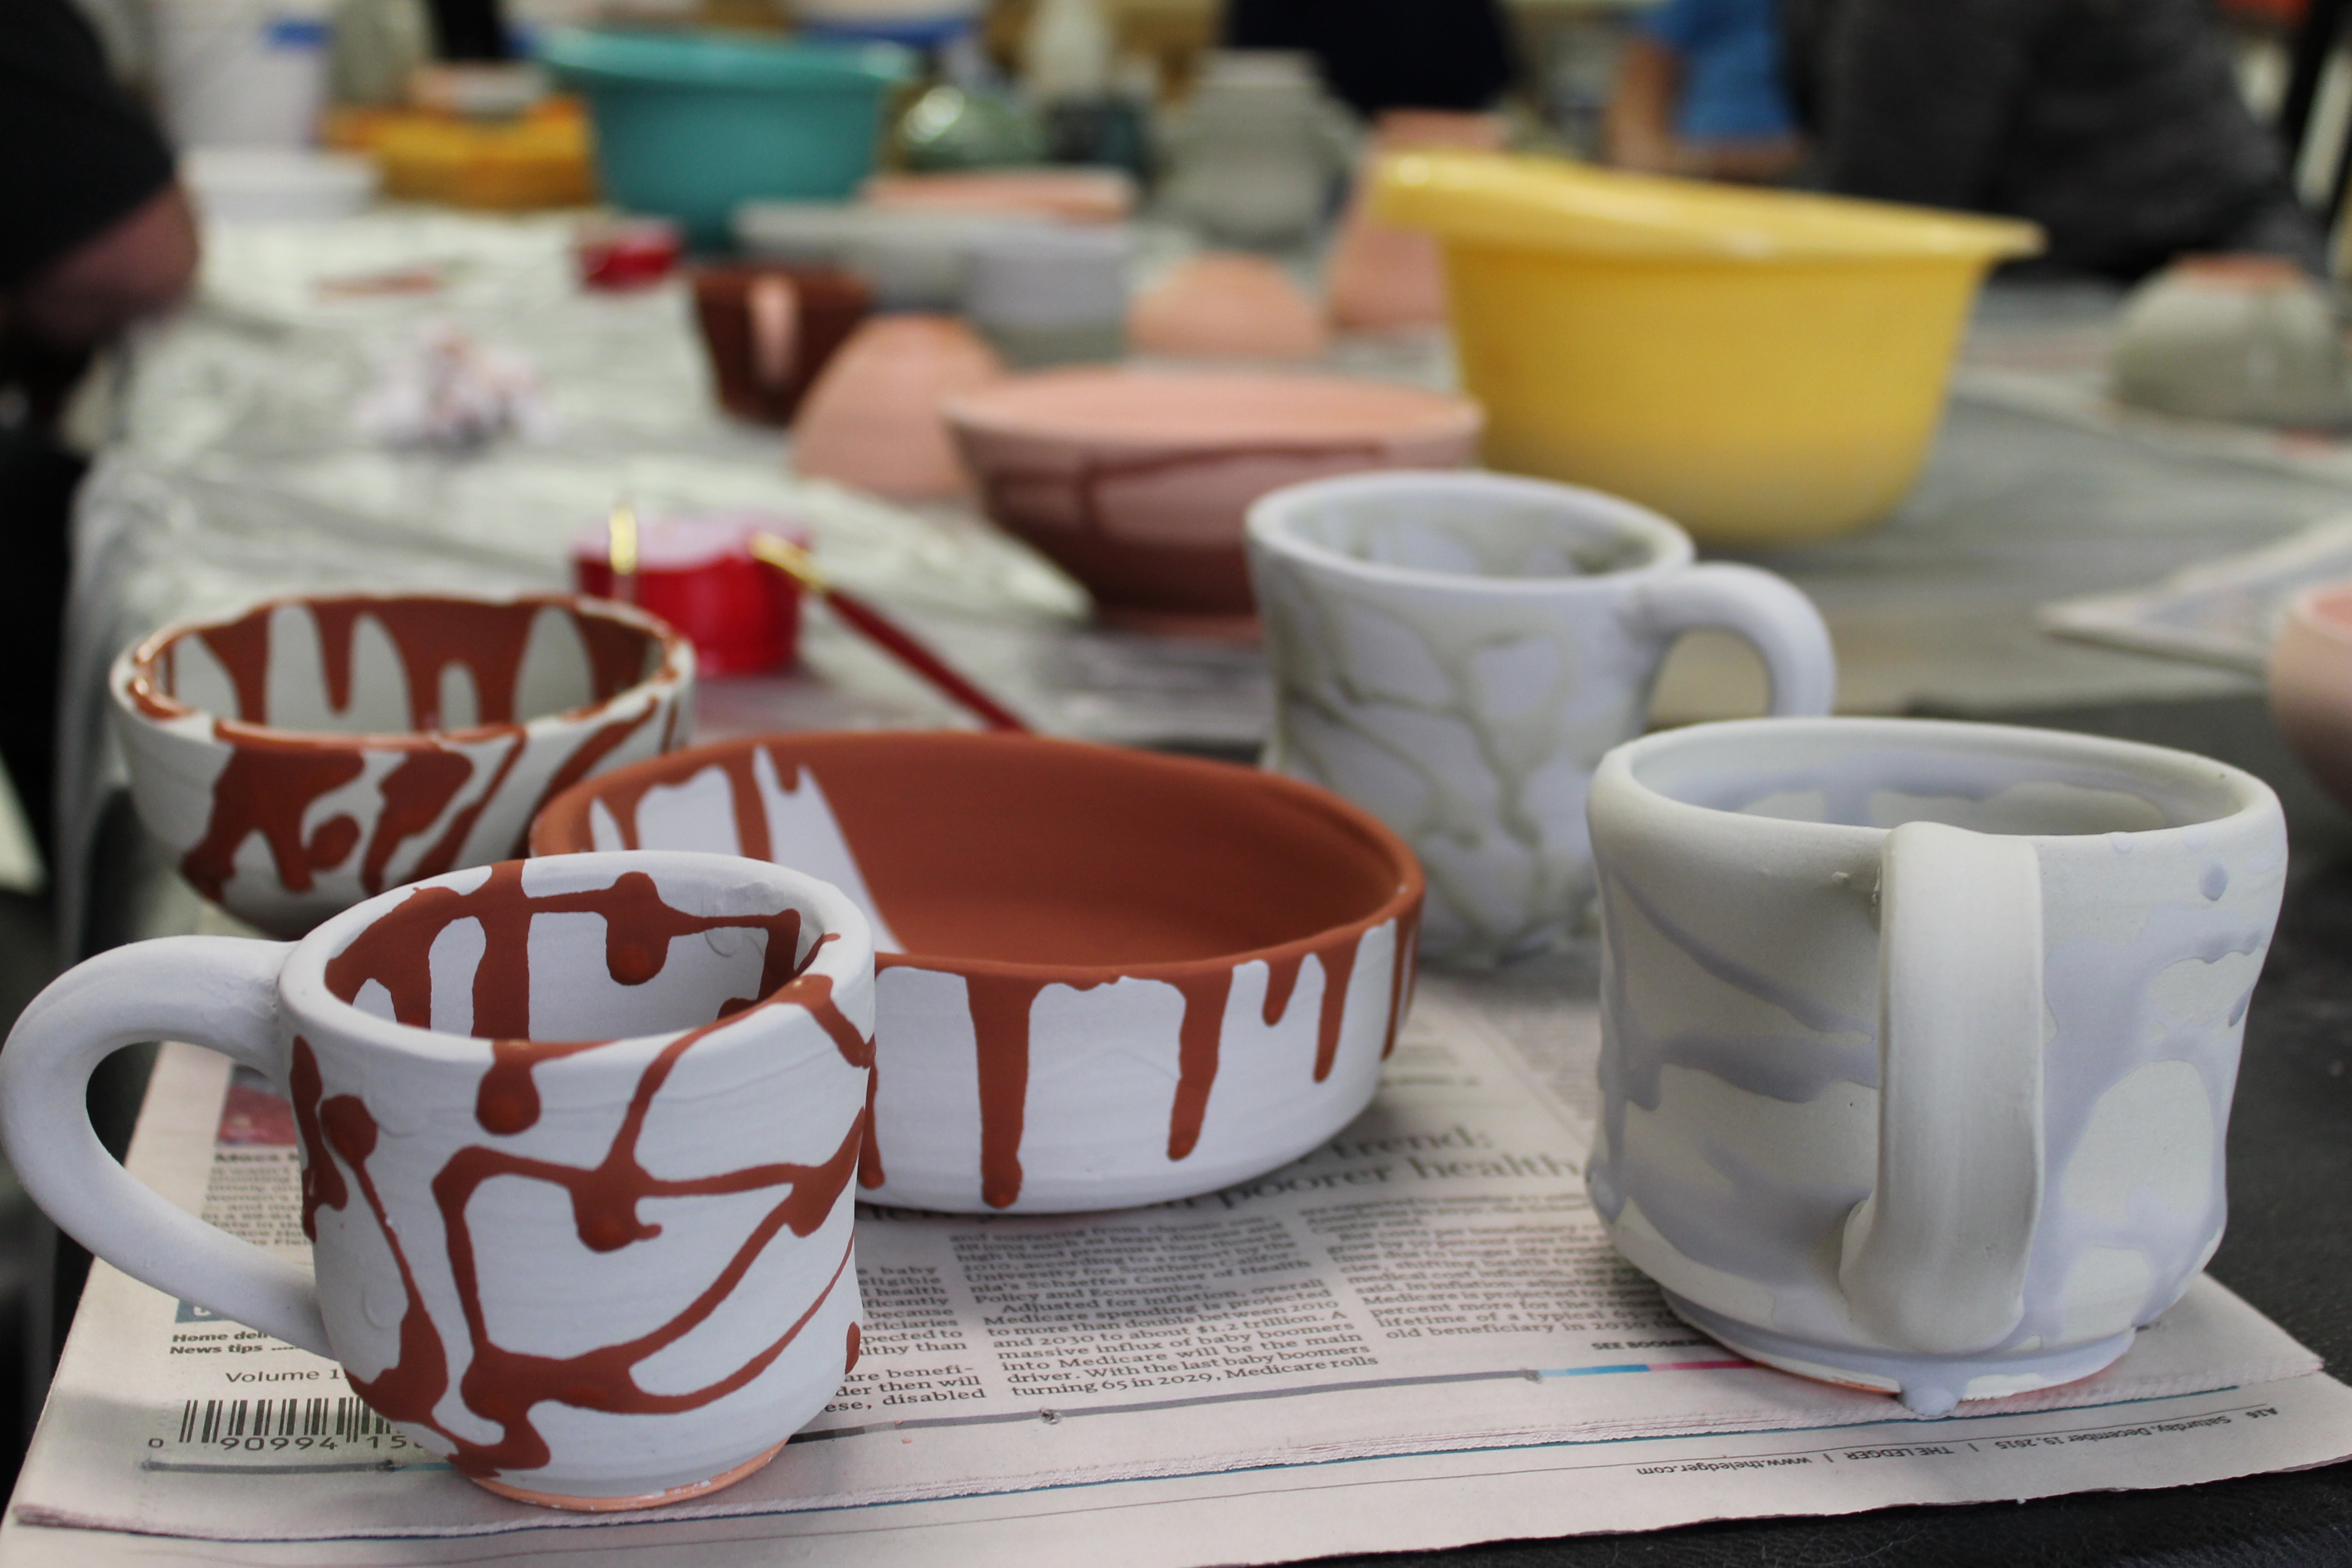
Glazing
Wax pieces
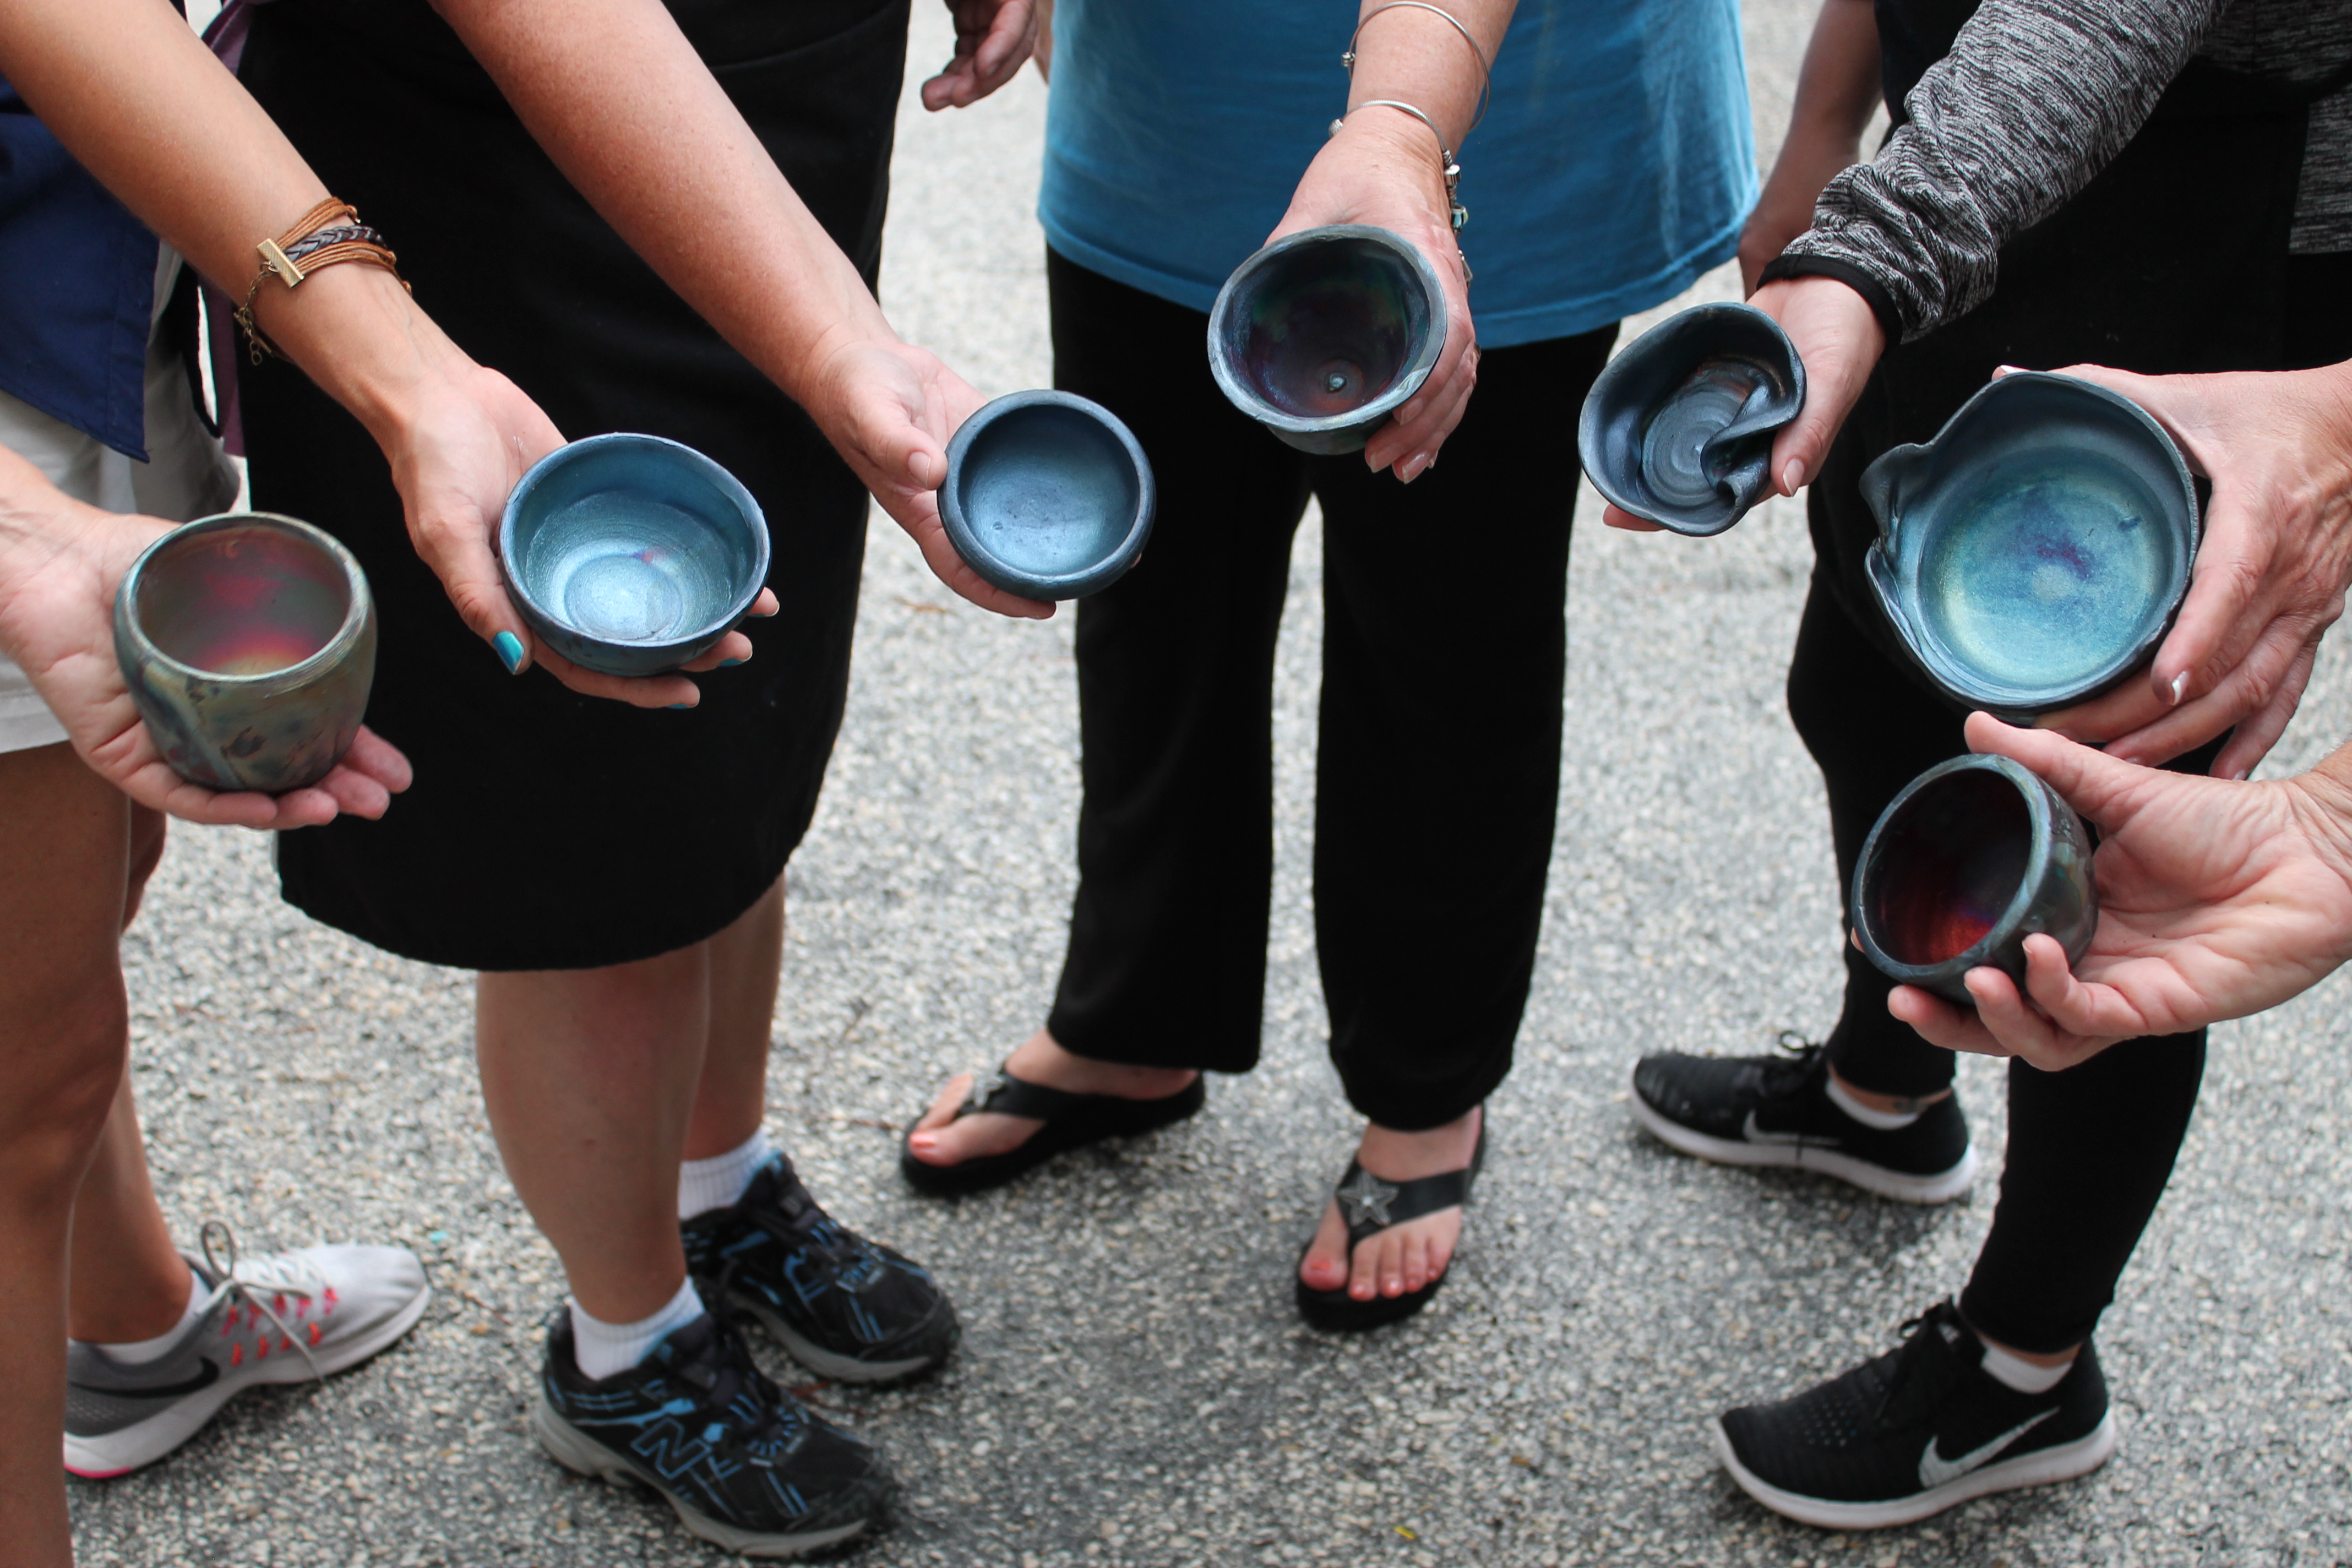
We do a raku piece while they are in class so we have them glaze that piece first
Demonstrate Glazing process. Brush, Dip, Pour,
Demonstrate loading the kiln
Finish Raku Process.
Have them come back to pick up the finished work on a later date.
And that’s that.
Now if you have clients that want to do individual lessons, its always a good idea to talk to them about their interests and needs. Sometimes they just want the experience and success… they are different then a student trying to apply to art school.
As teachers, it’s always important to be prepared. Knowing your student and preparing them is essential to the success of the class.
We hope this helps you on your journey toward the potter’s wheel or as a pottery teacher. We want you to thrive in your endeavors and all that you are pursuing